Product Photography Tips for Better AI-Generated Ads
Here's something we've learned from watching thousands of users create AI-generated ads: the quality of your input images dramatically affects the quality of your output ads.
You can have access to the most advanced AI tools available, but if your product photos are dark, blurry, or cluttered, your ads will reflect that.
This guide covers practical product photography techniques specifically optimized for AI-powered ad generation. You don't need expensive equipment—just some intentionality and a few key principles.
Why Input Quality Matters for AI
AI image generators and editors work by understanding what's in your photo and building on it. When you give AI:
Good input (clear, well-lit, clean background):
- AI can accurately isolate your product
- Generate consistent backgrounds and contexts
- Maintain product details and colors
Poor input (blurry, dark, cluttered):
- AI struggles to understand what's product vs. background
- Generated elements may look inconsistent
- Product details get lost or distorted
Think of it like this: AI is a tool that amplifies what you give it. Good photos become great ads. Bad photos become slightly better bad photos.
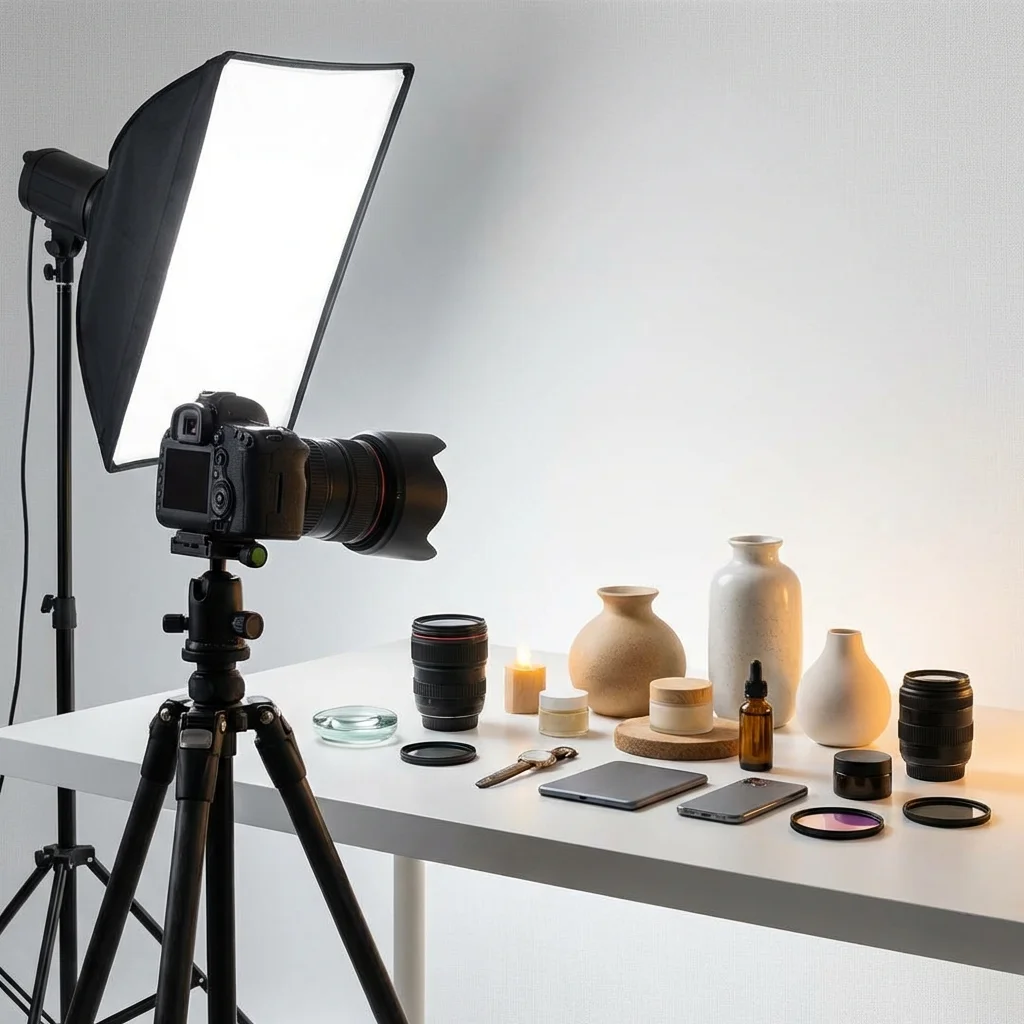
Equipment: What You Actually Need
Good news: You don't need a ₹50,000 camera.
The Minimum Viable Setup
| Equipment | Budget Option | Better Option |
|---|---|---|
| Camera | Smartphone (2020 or newer) | Mirrorless or DSLR |
| Lighting | Natural window light | LED panels or ring light |
| Background | White poster board/sheet | Seamless paper backdrop |
| Tripod | Stack of books for phone | Basic tripod (₹1,000-2,000) |
| Reflector | White foam board | Collapsible reflector disc |
Total minimum budget: ₹0-500 (using what you have) Better setup: ₹3,000-5,000
Smartphone Camera Settings
If using a phone:
- Use the main camera (not ultrawide or telephoto)
- Turn on gridlines for composition
- Disable flash (always)
- Clean the lens before shooting
- Use the highest resolution setting
Lighting: The Single Most Important Factor
If you fix nothing else, fix your lighting.
Natural Light (Free and Excellent)
The best light for product photography is soft, indirect natural light.
Setup:
- Find a window that doesn't get direct sunlight (north-facing ideal)
- Place product 2-3 feet from window
- Put white foam board on the opposite side to bounce light back
- Shoot during midday for most consistent light
Avoid:
- Direct sunlight (creates harsh shadows)
- Mixed lighting (natural + artificial = color problems)
- Low-light conditions (grainy photos)
Artificial Light (Consistent and Controllable)
If you can't rely on natural light, invest in basic lighting:
Two-light setup:
- Main light (45° angle, slightly above product)
- Fill light (opposite side, lower intensity) OR white reflector
One-light setup:
- Main light (45° angle)
- White foam board opposite for fill
Key principles:
- Diffuse your light (softboxes, diffusion material, bouncing off wall)
- Match light temperature (all daylight or all tungsten)
- Keep intensity consistent between shoots
Backgrounds: What Works Best for AI
The background of your product photo significantly affects AI processing.
Best Backgrounds for AI
1. Pure White
- AI can easily isolate product
- Allows for any generated background
- Professional, versatile
How to achieve: White poster board curving from behind product to under it (no hard edge/corner visible)
2. Solid Colors
- Clear product isolation
- Adds brand personality
- Still easy for AI to process
Good colors: Light gray, beige, soft pastels
3. Gradient (Simple)
- More interesting than pure white
- Still clean for AI processing
- Professional look
Avoid:
- Busy patterns
- Cluttered environments
- Inconsistent surfaces
- Reflective surfaces
The Sweep Technique
Create a seamless background:
- Tape large paper/poster board to wall
- Curve it naturally onto your table (no harsh corner)
- Place product on the curved section
- The smooth transition eliminates hard background lines
Angles: What to Capture
For AI ads, certain angles work better than others.
Essential Shots (Minimum)
| Angle | Purpose |
|---|---|
| Front-facing hero | Main product view, best for ads |
| 45-degree | Adds depth and dimension |
| Detail close-up | Texture, material, quality signals |
Additional Shots (If Relevant)
| Angle | When to Include |
|---|---|
| Scale reference | Products where size might be unclear |
| In-use/lifestyle | For ads that will show product in context |
| Multiple angles | Complex products (shoes, bags, electronics) |
| Packaging | Unboxing experience matters for your brand |
Angle Tips
- Fill the frame: Product should occupy 60-80% of image
- Camera at product level: Avoid looking down on small products
- Multiple options: Shoot more than you need, select best
Product Preparation
Before you shoot, prepare your product:
Cleaning and Prep
- [ ] Remove dust and fingerprints
- [ ] Steam wrinkles (fabric)
- [ ] Polish surfaces (glossy items)
- [ ] Arrange elements neatly (multiple-part products)
- [ ] Check for defects or damage
Styling
- Props: Minimal. One or two relevant items maximum.
- Arrangement: Intentional, balanced (not random)
- Accessories: Include if relevant (e.g., watch on a stand)
- Consistency: Same styling approach across product line
Common Mistakes
| Issue | Impact on AI Output |
|---|---|
| Visible price tags | AI may include in generated ads |
| Creased fabric | Looks lower quality when enlarged |
| Dusty surfaces | Visible in AI enhancement |
| Random background objects | Confuses product isolation |
Color Accuracy
AI-generated ads should maintain your product's true colors. Here's how to ensure accuracy:
White Balance
Set your camera/phone to match the lighting:
- Daylight: For natural window light
- Tungsten: For warm artificial light
- Auto: Only if you're white balancing in editing
Reference Card
Include a white or gray card in test shots. Use it to:
- Set manual white balance
- Reference for editing corrections
- Ensure consistency across shoots
Consistency
When shooting a product line:
- Same lighting setup
- Same time of day (if natural light)
- Same camera settings
- Edit all photos the same way
Resolution and File Quality
AI tools work better with higher quality inputs.
Minimum Recommendations
| Use Case | Minimum Resolution |
|---|---|
| Social media ads | 2000px on long edge |
| Print-quality ads | 3000px+ on long edge |
| Detailed product (jewelry, etc.) | 4000px+ on long edge |
File Format
- For editing: RAW (if available) or highest quality JPEG
- For AI input: JPEG or PNG (most compatible)
- Avoid: Heavily compressed images, screenshots
Storage Tip
Keep original high-resolution files. You can always compress later, but you can't recover lost detail.
Editing Before AI
Basic editing makes a significant difference in AI output.
Essential Edits
- Exposure/brightness: Ensure product is well-lit in photo
- White balance: Correct any color casts
- Crop: Straighten and frame product appropriately
- Sharpening: Slight sharpening improves perceived quality
Optional Edits
- Background cleanup (spots, imperfections)
- Minor color adjustments
- Remove distracting elements
What NOT to Edit
- Don't heavily filter (changes product colors)
- Don't over-sharpen (creates artifacts)
- Don't add text or graphics (AI will try to incorporate them)
Free Editing Tools
- Snapseed: Mobile, powerful, free
- GIMP: Desktop, Photoshop alternative, free
- Canva: Basic edits, browser-based
- Lightroom Mobile: Free tier available
Category-Specific Tips
Different products require different approaches:
Apparel/Fashion
- Flat lay: Clean, styled arrangement (good for patterns)
- On model: Shots show fit and drape
- Hanger shots: Acceptable but less engaging
- Styling tip: Steam everything, attention to details
Jewelry/Accessories
- Macro capability: Get close without blur
- Reflections: Control or embrace them intentionally
- Scale reference: Consider showing on hand/person
- Lighting: Diffused to avoid harsh glare
Food & Beverage
- Fresh is critical: Food deteriorates quickly under lights
- Styling matters: Garnishes, arrangement, plating
- Warm tones: Generally more appetizing
- Texture focus: Makes food look appealing
Electronics/Hard Goods
- Minimize fingerprints: Exhausting but necessary
- Reflections: Black electronics reflect everything
- Multiple angles: Show ports, buttons, details
- Size context: Include something for scale
Home & Furniture
- In-context shots: Show in styled room settings
- Quality of materials: Close-ups of fabric, finish
- Scale: Always include reference (person, common object)
Quick Reference: Pre-Shoot Checklist
Before each product shoot:
Setup
- [ ] Background clean and wrinkle-free
- [ ] Lighting consistent and diffused
- [ ] Camera/phone stable (tripod or support)
- [ ] Lens clean
Product
- [ ] Cleaned and prepped
- [ ] Styled consistently
- [ ] No price tags or unwanted labels
Camera
- [ ] Highest resolution setting
- [ ] Flash OFF
- [ ] White balance set appropriately
- [ ] Focus locked on product
After Shoot
- [ ] Review images on larger screen
- [ ] Basic editing completed
- [ ] Files saved at high quality
- [ ] Originals backed up
The 80/20 of Product Photography
If you remember nothing else:
- Lighting — Soft, diffused, consistent (natural window light is free and excellent)
- Clean background — White or solid color, no clutter
- Stable camera — No handshake blur
- Fill the frame — Product should be the focus
- Multiple angles — Give yourself options
Master these five things, and your AI-generated ads will be dramatically better than someone using AI with poor input photos.
Final Thoughts
Product photography is a skill that pays dividends forever. Every product you add, every ad you run, every marketplace listing—they all benefit from better source images.
You don't need to become a professional photographer. You just need to be intentional about the basics.
And here's the beautiful thing: time invested in better photography improves the output of every AI tool you use. It's a multiplier for all your marketing efforts.
Start with what you have. Improve one thing at a time. The difference will be visible immediately.
Ready to turn great product photos into great ads? Avocad's AI works best with quality inputs. Upload your photos and see the difference at avocad.xyz.
— The Avocad Team